As a salesperson, you know how crucial converting prospects is to your business. You can adopt different strategies, but it all boils down to one thing: selling, and then selling some more.
Among these strategies, many of us implement emailing campaigns. In order to optimize the open rate and the conversion rate, you’ve likely already adopted different personalization methods. The problem now is that while your emails have good click-through rates, they still don’t convert.
The issue might come from the landing page which you are redirecting your prospects to. Ideally, it’s best to have a personalized landing page for each of them to catch their attention, and to make them quickly understand the benefits of your product for their business.
But creating hundreds of landing pages for your prospecting is somewhat ambitious, plus it’s time and resource-consuming while being hard to achieve. Right? 😫
What if we told you that you could automate the generation of personalized landing pages for each one of your prospects using no-code?
Sound too good to be true? Then read on and we’ll take you through the steps to automating personalized landing pages.
📌 Key Points
- Personalized landing pages dramatically increase engagement and conversions, but creating them manually at scale is time-consuming.
- Using no-code tools like Webflow, Zapier, and noCRM.io, you can automate the creation of personalized landing pages for each prospect.
- This process involves syncing prospect data from noCRM to Webflow via Zapier, triggering real-time landing page generation.
- Automated email sequences can include these personalized page links, increasing the likelihood of conversions.
- Further automation can track form submissions and update lead stages in noCRM automatically, keeping your sales pipeline accurate and up to date.
- The result: fewer manual tasks for sales reps, more qualified leads, and a streamlined conversion process that scales.
The challenge: How to use further personalization in your email campaigns

You’ve launched your emailing campaigns. Now it’s time to personalize your content and the subject of your email by adding variables, such as “company name” and the “first name” of your contact.
Your emails have great open and click-through rates, but prospects aren’t converting.
There’s every chance their journey stops on your landing page because it’s not optimized in the right way.
Put yourself in the shoes of one of your prospects and analyze your page:
- Do I understand how the issue relates to me?
- Do I understand what the proposed product or service is, and does this solution solve one of my problems?
- Can I see the value and the advantages it will bring me on a daily basis?
Your prospects probably don’t feel sufficiently targeted by your landing page if there are mixed answers. In other words, it’s not personal enough.
To resolve this, an effective method involves creating dedicated landing pages, which will immediately trigger their curiosity. For instance, displaying their logo followed by yours increases the chances of the prospect paying more attention to the on-page content.
This dedicated landing page gives you more space and opportunity to highlight the advantages of your product or service according to the needs and challenges of the targeted prospect. This way, they can already see themselves using your offering and book a demo, sign up to test the product or whatever you’d like to achieve.
Of course, one problem remains: you and your salespeople have no time to create hundreds of landing pages. Instead, the can use the time to focus on what they best: selling the good stuff.
This is where no-code and automation come in, and it’s about to change your life.
The solution: automating personalized landing pages with no-code
Solve your problem by automating the creation of landing pages on Webflow with no-code. This means personalized landing pages are created automatically in no time at all for each one of your prospects.
Pierre Vandekerckhove, co-founder of Bolk Studio, explains the process during the Webflow World Tour 2020:
🎥 Bolk is a design studio specialized in website creation and redesign. With their team of 60 freelancers, they are able to tailor teams to create or improve your branding, website design, and manage its development with Webflow.
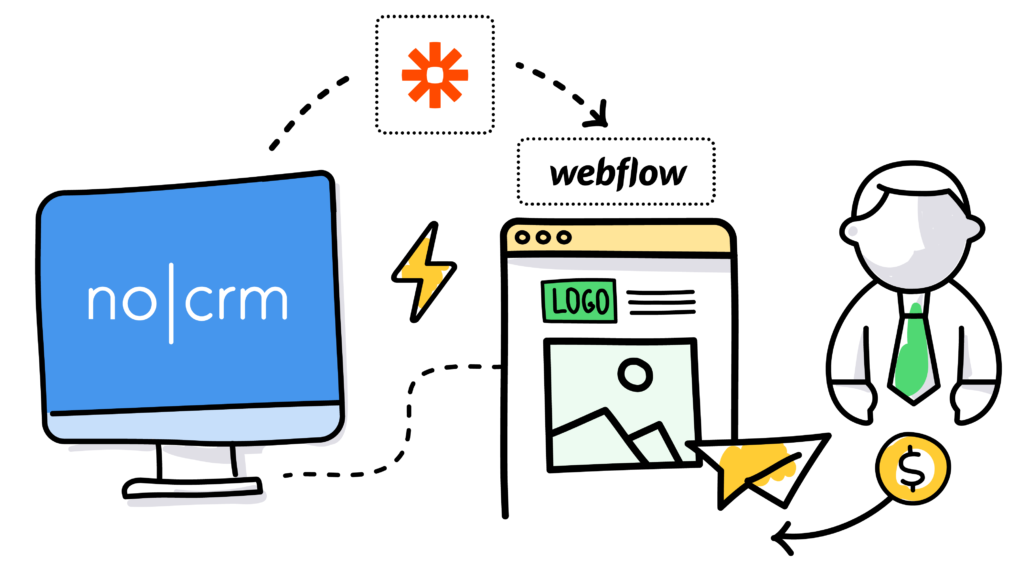
Our priority is also not to waste your salespeople’s time. Therefore, we have created an automation process to link Webflow to your lead management software, noCRM.io, so that you can directly manage the delivery of landing pages and the management of leads and prospects in the same place. This integration between Webflow and noCRM.io takes place with Zapier.
Yyour salespeople no longer need to jump between different tools, let alone deal with landing page creation in Webflow when you follow this process. As soon as a prospect is generated in noCRM.io, a new personalized landing page will be created. 🪄🪄🪄
All they need do is to manage their prospects efficiently from within noCRM.io as they usually do.
noCRM.io, lead management software
noCRM.io is among the tools we use.
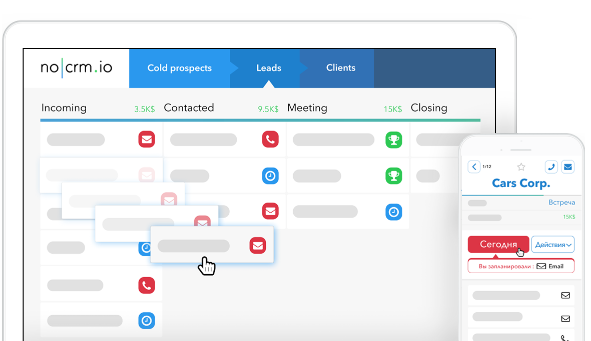
It’s a lead management software platform allowing salespeople to manage their sales and optimize conversion rates.
Sales representatives always understand their sales activities are for the day and can visualize the status of their leads in the pipeline to carry out their cold prospecting in a dedicated interface, all in an easy-to-use platform.
Sign up for a free trial on noCRM.
Webflow, no-code software to create your website

The second essential tool in our process is Webflow.
This no-code web design tool offers the ability to create your website without needing to know how to coding. Its intuitive drag-and-drop interface allows you to create branded and beautiful pages with ease.
Setting up the automation of personalized landing pages
Your noCRM.io, Webflow and Zapier accounts are ready. Now, we’ll walk you through the following steps so can enjoy dynamic landing pages that convert.
Prepare a sample landing page
A few prior steps are necessary before implementing our process in Zapier.
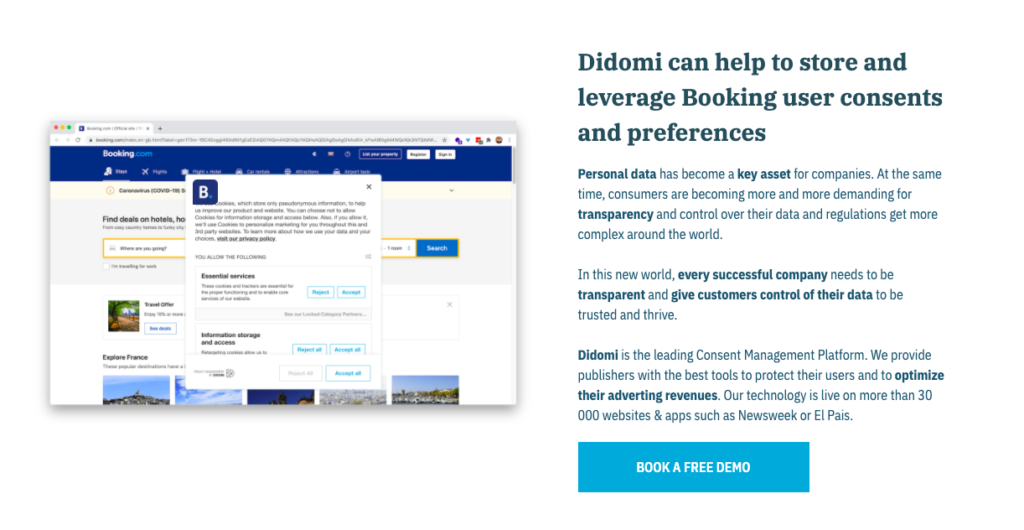
First, go to your Webflow account and create a sample landing page for one of your prospects. Don’t forget to add different customization elements in a “CMS Collection” (Content Management System).
For example, you can add the name of the company and a screenshot of their website or their logo, which will be displayed on the landing page created.
Here is an example created by Bolk Studio :
Set up a prospecting process in noCRM
Next, you need to go to your noCRM.io account. First, check that your sales pipeline is created and configured. If not, make sure you create it with the right sales steps. You can follow our 1 sales process example:
Conversation → Interested → Qualified → Demo done → Trial → Closing

Then you will need to create a prospecting list dedicated to the prospects for whom you want to generate landing pages.
You can create it manually or by importing an Excel or CSV file.
In your prospecting list, you’ll need to define the fields that correspond to the personalization items you have entered in your landing page. For example, if you decided to include the company name, an image of their website, and their logo, you would have to set the following additional fields:
Slug, Company Name, Company URL, Logo URL, Website Image URL, Page URL.
You must keep in mind that these fields should not only be identical to those used for your landing page items in Webflow, but they also be identical to the default fields of your leads in noCRM.
If some are missing from your default fields in noCRM, you just have to add them by accessing the admin panel.
By setting up this step, when you create a new lead you will have to fill in all this information, which is necessary to create the landing page.
Integrate Webflow with noCRM.io through Zapier
You can create custom landing pages manually exporting your prospects from noCRM to a CSV file, and then importing the items back into Webflow.
But in addition to saving time by automating landing page creation, it’s also important that your salespeople do not waste time switching between their different tools.
Thanks to Zapier, the no-code platform, you can connect your Webflow account to your noCRM account and have your landing pages created without any manual intervention in Webflow.
Before you start setting up your Zap, you need to connect your noCRM.io and Webflow accounts to your Zapier account.
→ Step #1 :
Transfer the information present in noCRM to Webflow in the first step. So when a new prospect is created in noCRM, the necessary items are automatically added to Webflow, and the personalized landing page is generated.
1. First, create a Zap in Zapier.
2. Then, create a “trigger” and choose “noCRM” as the “Event app”, and “New prospect created…” as the “trigger event”.

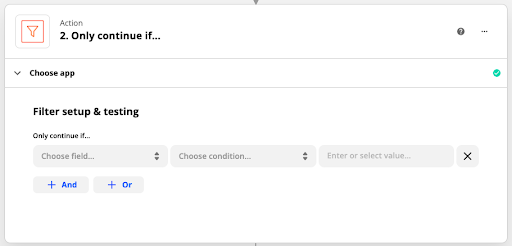
3. Create an “action” and chose “filter by zapier” as the “app event”.
In the field “Only continue if” choose “Prospecting List” and “(Text) Exactly matches” and write the name of your noCRM prospecting list.
4. Create a third “action” and choose “Webflow” as the “Event app”, and then “Create Live Item” as the “Action App”.

In the field “Site”, choose your website. In the field “Collection”, choose the collection that you have previously created on Webflow, with the personalized items for your landing page.
You will then have to link all the fields defined for your prospects in noCRM, to those of the corresponding Webflow Items, by selecting them in each field proposed in this Zap.
The first step of this no-code process is completed. Now, a new dedicated landing page is created each time a new prospect is added to your prospecting list.
→ Step #2 :
Now it’s time to for your salespeople to contact their prospects.
They can either contact them manually by writing emails or by using templates. They can also automate an email sequence directly from noCRM. This way, they won’t have to follow up on each prospect manually.
Of course, you must not forget to include the URL of the personalized landing pages in your emails.
After being contacted, prospects must be converted into leads by your salespeople, which are then moved into your sales pipeline in the “Contacted” step, if you have followed our example. Turning them into leads is important for the rest of our process.
Now all you have to do is wait for the prospects to fill out the form on your landing page if you choose to include one.
But once the form is filled out, the information needs to be updated in your noCRM pipeline, so your salespeople know that they have scheduled demos, or made contact by phone, and have visibility into how their leads are progressing in their sales process.
For this, you will need to use no-code again, and create another Zap.
→ Step #3 :
This third step allows your sales team to understand which leads have completed your form. The demo request comes into effect, and the lead moves from “Contacted” stage to the “Qualified” stage in your pipeline.
1. First of all, create a Zap in Zapier.
2. Create a “trigger” and chose “Webflow” as the “Event app”, and “Form submission…” as the “trigger event”.

3. Next, create an “action” and choose “noCRM” as the “app event”, and “Change Step” as the “Action Event”.

With this process, the leads will be present in the right step of your pipeline without any manual intervention from your sales team. This way, they will be able to carry out the demo requested or any other action that you have defined.
The results of personalized landing page automation with no-code
Once the no-code process is in place, you’ll be able to see the benefits of the automation of personalized landing pages creation.
Your sales reps will be able to convert more and get qualified leads more easily without the need for extra effort.
Optimize your prospecting process thanks to Webflow, noCRM.io, and Zapier while allowing your sales reps to stay focused on their core tasks. It’s time to increase sales.
Conclusion
In a world where attention is limited and personalization is king, static landing pages just won’t cut it. By automating the creation of custom pages using Webflow, Zapier, and noCRM.io, your team can deliver personalized experiences at scale—without needing technical skills or heavy dev resources. This no-code solution allows your sales reps to focus on selling while leads progress smoothly through your pipeline. Ready to boost your B2B conversions and simplify your sales workflows? Start your free 14-day trial of noCRM today and turn your prospecting into a high-performance sales machine.

